Switch plates are functional, decorative covers for light switches, providing safety and design elements for the rooms in which they are installed. In many instances, replacing a switch plate is a quick, simple task, taking as little as 30 seconds.
For more complicated plates, your task may become a bit more involved, depending on where the light switch is located, what tools you have and what safety concerns you have. The three considerations for replacing a switch plate are design, safety and procedure. Addressing all three before you start will help you make sure you install the correct plate and do it safely.
Look at Your Current Plate
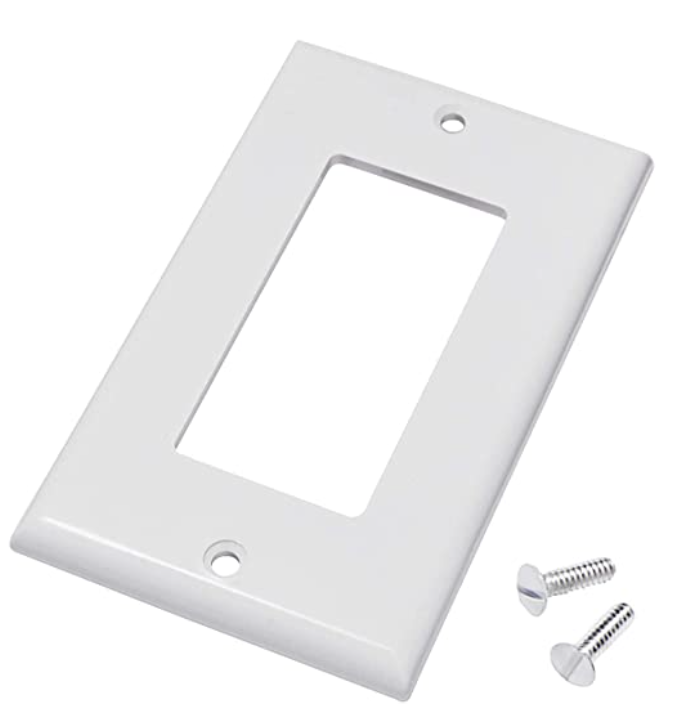
Before you purchase replacement switch plate, take a look at what’s already covering the switch. Common switch plates use one to four small screws to affix the plate to a wall, depending on whether your plate covers a multi-switch box or just one switch.
Measure the plate to make sure you buy the correct size replacement. You may be able to purchase a smaller plate if the box behind it has been fit into the wall in a smaller dimension than the plate. Some plates are several inches larger than the cut-out for the switch box, while others barely cover the hole in the wall.
You likely will not know what your situation is until you remove the plate. For this reason, you may want to remove the plate, at least partially, before you buy the replacement plate.
Consider Your Decor
Replacing a switch plate gives you an opportunity to add a complementary design element to a room, as well as making light switches easier to find. You can select a switch plate that’s a different color than the wall or switches, or choose the same color, if you don’t want the plate noticeable. You can choose different materials, including metal plates, to add a more elegant look. This might be more appropriate for a bathroom or boudoir, as opposed to a workshop or basement.
Collect Your Tools
Switch plate screws are often very small, so choose a screwdriver with a magnetized tip to reduce the chance you lose the screw. To make your job quicker, use an electric screwdriver. For safety sake, you may want to turn off the power to the room, or the part of the room with the switch box.
Do this at the main circuit break of the house. You may need to arrange for light in that room, because hand-held flashlight may not provide enough light, so consider bringing a lamp into the room.
Remove The Plate
Begin removing the screws from the switch plate, starting from the bottom. If you need to take your hand off the plate after you’ve removed one more screws, it’s less likely the plate will pull off the wall if the top screws are still affixed.
Switch plates are usually very lightweight and this most likely won’t be a problem. However, if you’re working with a heavier plate and have only one, bottom screw remaining, you might accidentally pull the plate from the wall.
After you have remove half the screws, gently move the plate away from the wall to see if removing the remaining screws will do the trick, or if you’ll need to do more work. Depending on how long the switch plate has been on the wall and what material is behind it, the plate may have bonded to drywall, paint or wallpaper.
Pulling the plate off the wall quickly after it’s been unscrewed may cause you to rip or tear wallpaper or paint. If you attempt to separate the plate from the wallpaper or paint using a spray bottle of water, only do so if you have turned off all power to the room.
Do not have your hand in contact with any live electrical devices, such as a lamp, electric screwdriver or any other object. Common sense dictates not using water near a light switch. If you attempt to separate the switch plate from paint or paper using a thin blade, use a plastic, wooden or other non-metal object to get between the plate and the paint or paper.
Once you have determined you can remove the final screws and take the plate off the wall, finish removing the final screws with one hand applying pressure until all the screws are out. Keep several fingers of one hand on the plate as you remove pressure from the other hand to make sure you can take the plate off without damaging any drywall, paint or wallpaper.
Attach the New Plate
Place the new switch plate over the light switch and place each screw into its place, turning each screw several times, but not all the way. Once you have determined that the new plate lets you re-insert all screws evenly and properly, turn each screw the rest of the way, alternating screws to create even pressure on the plate.
Additional Resources